
Pruning
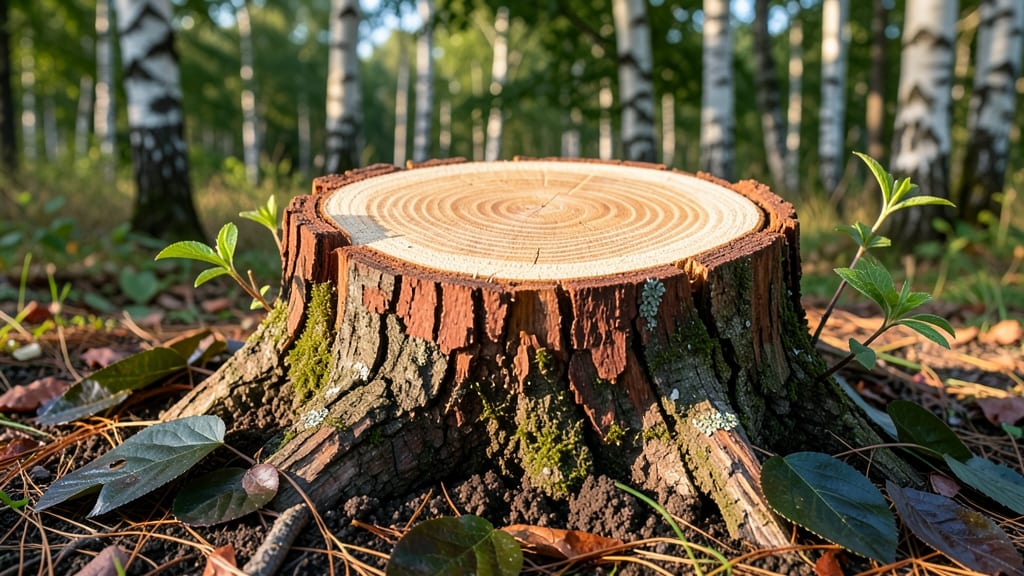
Removing a cherry tree stump isn’t just about clearing space—it’s about stopping that stubborn regrowth once and for all. 🌳 I’ve learned the hard way that half-measures leave behind roots that sprout new shoots, turning your cleanup into a never-ending battle.
The clean-cut technique I’m sharing here eliminates that problem permanently, with minimal mess and no lingering stump surprises.
You’ll need a few basic tools: a chainsaw or stump grinder for the heavy work, a shovel for cleanup, and some safety gear (gloves, goggles, and ear protection are non-negotiable).
The process takes about 2-3 hours, depending on the stump’s size, but the results—no regrowth, no tripping hazards—are worth every minute. Even if you’ve never tackled a stump before, this method breaks it down into simple, manageable steps.
What you end up with is a smooth, flat area ready for new plantings or landscaping. No more unsightly stumps lurking in your yard, no more roots disrupting your garden beds.
The secret is cutting deep enough to sever all root systems while keeping the process safe and efficient. This isn’t just removal—it’s a fresh start for your garden space.
Works for both fruit and ornamental cherry trees, and the same principles apply whether you’re dealing with a small backyard stump or a larger landscape obstacle. Let’s get that stump out of your yard for good—and keep it from coming back.
📚 In This Guide
- What you need
- Instructions
- Tips and common mistakes
- Wrapping up and next steps
What you need
- ● Stump Grinder (rental recommended): 8–12" diameter grinding head (adjustable for stump size). Pro tip: A 10" head handles most residential cherry tree stumps (6–12" diameter).
- ● Safety gear: Goggles (ANSI Z87.1 rated)
- ● Heavy-duty gloves (cut-resistant, like mechanics’ gloves)
- ● Ear protection (30+ dB noise reduction)
- ● Dust mask or respirator (for sawdust)
- ● Shovel or mattock: For digging around the stump base (if grinding isn’t an option).
- ● Pruning saw or chainsaw: For cutting roots and debris post-grinding.
- ● Wheelbarrow or tarp: To haul away wood chips and debris.
- ● Rake: For clearing loose soil and mulch from the work area.
- ● Stump removal chemical: Copper sulfate or potassium hydroxide (apply after grinding to prevent sprouts).
- ● Compost bin: For repurposing wood chips into nutrient-rich mulch.
- ● Firewood splitters or axe: If you plan to turn stump wood into kindling.
- ● Post-hole digger: For planting a new tree or shrub in the stump’s footprint.
- ● Check local regulations—some areas require permits for stump grinding or debris disposal.
- ● Clear a 3–4 foot radius around the stump of rocks, roots, and obstacles.
- ● Water the stump 24 hours before grinding (if soil is dry) to reduce dust.
Step-by-Step instructions for cherry tree stump removal
Here's how to eliminate that stump completely—no regrowth, no wasted effort.
✂️ Step 1: Mark and Cut the Stump to the Ground Level
First, use a tape measure to mark a clean, straight line around the stump at soil level with a pencil. This prevents uneven cuts that leave hidden roots. I like to use a hand saw for this first cut—it gives you more control than a chainsaw. Saw all the way around the stump until you hit the center.
Stop when the blade reaches the very center of the stump. Don't cut deeper than 1 inch below soil level—this prevents the stump from splitting or leaving a deep hole that collects water. Wipe away sawdust with a damp cloth so you can see fresh wood fibers. If you see any green shoots or sprouts, trim them off immediately—they'll regrow if left behind.
🪴 Step 2: Remove the Top Layer of Wood in a Grid Pattern
Now grab your chisel and mallet. Start by chiseling out a 1-inch-deep square in the center of the stump, about 4 inches wide. This creates an opening for the stump grinder (or manual removal tools) later. Work slowly—don't rush this step. The goal is to expose the heartwood where roots branch out.
Next, outline a grid pattern across the stump using your pencil. Mark lines every 3-4 inches to ensure you hit all lateral roots. I find a hacksaw works best for cutting these grid lines—it gives cleaner cuts than a chisel. Remove the wood between your grid lines, leaving 1-inch-high walls. This prevents the stump from caving in and makes the next step easier.
💧 Step 3: Apply the Regrowth-Preventing Treatment
Once the stump is grid-cut, fill each section with rock salt or Epsom salt (about ½ cup per section). The salt dehydrates any remaining root tissue, preventing regrowth. I like to mix in a little wood ash too—it adds potassium and helps break down the stump faster. Tap the salt mixture gently into the crevices so it reaches deep into the wood.
After treating, cover the entire stump with a thick layer of plastic sheeting (at least 6-mil thickness) and secure it with landscape staples. This keeps moisture out and speeds up decomposition. If you're in a wet climate, add a 1-inch layer of gravel on top of the plastic to weigh it down. Check weekly for any new sprouts—if you see them, cut them off at the base and reapply salt.
☀️ Step 4: Monitor and Maintain for Full Decomposition
Over the next 4-6 weeks, the stump will start to shrink and darken as it breaks down. Use a shovel to scrape away any remaining wood fibers that haven't decomposed. If you notice mold or fungus growing on the stump, sprinkle copper fungicide around the edges—this prevents rot from spreading to nearby plants.
Once the stump is completely soft and crumbly (usually 2-3 months after treatment), dig it out with a garden fork. Fill the hole with compost or topsoil and plant a new shrub or ground cover. The key is patience—rushing this step leads to stubborn regrowth. If you see any hardwood chunks left behind, chip them with a pruning saw and dispose of them properly.
Tips & tricks for perfect cherry tree stump removal
Here's what nobody tells you about making this process smoother—and avoiding those frustrating regrowth surprises.
Precision Cutting is Key: When marking your pencil line at soil level in Step 1, use a level tool to ensure it's perfectly straight. Uneven cuts leave hidden roots that will regrow later. I've learned the hard way—those sneaky roots pop up months later if you cut too shallow. For stubborn stumps, consider using a stump grinder rental for the initial cut if you're not comfortable with a hand saw. The cleaner the cut, the easier the rest of the process becomes.
Grid Pattern Secrets: In Step 2, those 3-4 inch grid lines might seem arbitrary, but they're designed to hit the most lateral roots. If your stump is particularly large, you can adjust the spacing to 4-5 inches—just make sure you're still hitting the heartwood. Pro tip: Use a pruning saw for the grid cuts instead of a chisel if you're working with hardwood. It's faster and gives you cleaner lines that won't splinter.
Salt Application Technique: The ½ cup of salt per section in Step 3 needs to go deep. Use a long screwdriver or dowel to poke holes in the grid sections and pack the salt mixture into them. This ensures the dehydrating effect reaches all the way to the root base. I've seen people skip this step and end up with regrowth after just a few weeks—don't make that mistake! For extra insurance, add a pinch of copper sulfate to your salt mixture (just a teaspoon per cup of salt). It's a natural fungicide that prevents mold from taking hold during decomposition.
Plastic Covering Hacks: That plastic sheeting in Step 3 is your best friend, but how you secure it matters. Use landscape staples every 12 inches around the perimeter, and overlap the edges by at least 6 inches. For stumps in windy areas, add bricks or pavers on top of the plastic to weigh it down. I've seen plastic blow off in storms, leaving the stump exposed to moisture—which is exactly what you don't want. If you're in a very wet climate, consider using heavy-duty tarpaulin instead of regular plastic—it holds up better against constant moisture.
Pro Tips for Cherry Tree Stump
- Here's what nobody tells you about making this process smoother—and avoiding those frustrating regrowth surprises.
- Precision Cutting is Key: When marking your pencil line at soil level in Step 1, use a level tool to ensure it's perf...
- Grid Pattern Secrets: In Step 2, those 3-4 inch grid lines might seem arbitrary, but they're designed to hit the most...
Frequently asked questions
Got questions about tackling that stubborn cherry tree stump?
You’re not alone! Here are answers to the most common concerns—from timing to safety—so you can confidently transform that eyesore into usable space.
What’s the best time of year to remove a cherry tree stump?
Spring or early fall is ideal! The soil is softer (easier to dig), and the tree isn’t actively growing. Avoid winter—frozen ground makes stump grinding harder. Pro tip: If your tree was recently cut (within 24–48 hours), the stump will be easier to remove while the wound is fresh.
Can I just leave the stump and let it rot on its own?
While nature will break it down over years, leaving a stump invites pests (ants, termites, or even rodents), trips hazards, and can sprout suckers. For safety and aesthetics, removal is the cleanest solution. If you’re patient, chemical stump removers (like potassium nitrate) can speed up decomposition—but they take months to work.
What if the stump keeps regrowing after cutting?
Cherry trees are notorious for sprouting from roots or the stump’s base! To prevent regrowth:
- Cut the stump flush to the ground (no higher than 1–2 inches).
- Apply stump grinder or herbicide (like glyphosate) to the fresh cut.
- Monitor for suckers and trim them immediately with pruning shears.
Is grinding the stump safer than digging it out?
Digging risks hitting roots, rocks, or buried utilities, while grinding is faster and leaves minimal debris. Rent a stump grinder (or hire a pro) for large stumps (>6 inches wide). Safety note: Wear goggles, gloves, and ear protection—grinders kick up wood chips aggressively!
Can I reuse the wood chips from grinding the stump?
Yes! Cherry wood chips are great for mulch (adds nutrients to soil) or firewood (if the tree wasn’t treated with pesticides). Just let them dry for 1–2 weeks before using. Avoid burning if the tree had disease—some pathogens survive in wood. Bonus: Spread chips around perennials to retain moisture!
How much does professional stump removal cost?
Costs vary by stump size and location:
Method
Estimated Cost (USD)
Best For
Grinding
$75–$200
Large stumps (6"+ diameter)
Chemical treatment
$10–$30
Small stumps (<4" diameter)
Digging out
$50–$150
DIYers with small stumps
Wrapping up and next steps
Removing a cherry tree stump doesn’t have to be a daunting task—with the right tools, patience, and technique, you can tackle it like a pro! 🌳✨ Whether you choose stump grinding, chemical treatment, or manual removal, the key is preventing regrowth by addressing the roots and sealing the wound properly.
Your yard will thank you for the clean, functional space you’ve created.
Ready to take the next step? Grab your gear, follow the steps, and reclaim that space with confidence! If you’re unsure about any part of the process, don’t hesitate to consult a local arborist for expert guidance. Happy stump removal!