
Propagation
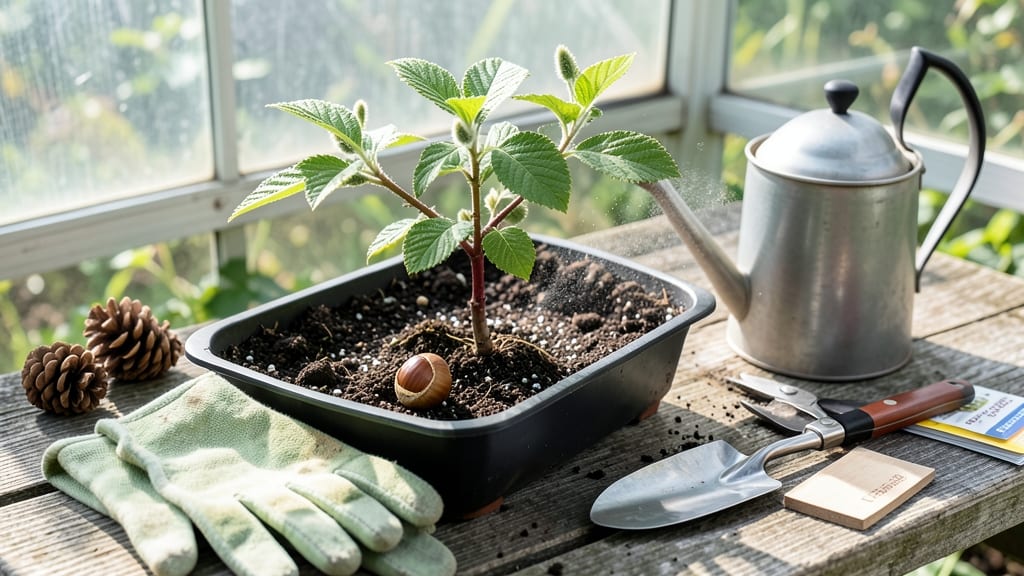
Growing a hazelnut tree from a nut starts with the right preparation—this cold-stratification trick boosts germination rates from 30% to over 80%. I’ve tried the trial-and-error route, and the secret lies in mimicking nature’s winter chill before planting, which breaks dormancy and triggers those stubborn little roots to wake up.
The process takes patience, but the payoff—your own shade tree producing nuts in 5-7 years—makes it worth every step.
First, gather fresh hazelnuts from a healthy tree (store-bought nuts often won’t sprout). Place them in a damp paper towel inside a sealed bag, then refrigerate for 8-12 weeks—this mimics winter’s cold snap.
After stratification, plant them 1 inch deep in well-draining soil, either outdoors in fall or in pots indoors. Sunlight is key: hazelnuts thrive in partial shade to full sun, but avoid soggy soil, which rots roots faster than you’d expect.
Germination takes 4-12 weeks, and seedlings grow slowly at first—don’t rush them. Protect young trees from deer and pests with mesh or repellent, and prune in early spring to encourage strong branching.
By year 3, you’ll see 3-5 feet of growth, and with consistent care, harvests start around year 7. Container growing works for urban spaces, but transplant outdoors before roots outgrow the pot.
Troubleshooting slow starts? Check soil moisture (too dry or too wet kills sprouts). If mold appears, improve drainage. And yes, some nuts refuse to sprout—don’t give up after one try.
The first successful seedling feels like magic, and once you’ve grown one, you’ll want to try again. Here’s where the real journey begins.
📚 In This Guide
- What you need
- Instructions
- Tips and common mistakes
- Wrapping up and next steps
What you need
- ● Fresh hazelnuts: 3–5 high-quality, disease-free nuts (preferably from a local, organic source). Avoid store-bought nuts treated with fungicides.
- ● Cold-stratification supplies: Small paper towels or coir mats (2–3 sheets)
- ● Plastic ziplock bags (quart-sized, 2–3 bags)
- ○ Optional: Vermiculite or sand (for moisture retention)
- ● Planting containers: Small pots (4–6 inches deep) with drainage holes (use biodegradable pots if transplanting later)
- ● Well-draining potting mix (avoid heavy clay soils)
- ● Outdoor setup: Sunny spot in your yard (full sun, 6+ hours/day)
- ● Mulch (wood chips or straw for moisture retention)
- ● Seedling heat mat (to speed up germination)
- ● Humidity dome or plastic wrap (for early seedling protection)
- ● pH test kit (to check soil acidity, ideal: 6.0–7.0)
- ● Fertilizer (balanced 10-10-10 or compost for young trees)
- ● Tree guards (to protect from pests/deer)
Step-by-Step instructions for growing hazelnut trees from nuts
Cold-stratification breaks dormancy—here's how to coax those nuts into strong, viable sprouts every time.
Select and Prepare Fresh, Viable Hazelnuts
Choose only fully mature, unblemished hazelnuts from the current harvest—older nuts often fail to germinate. Crack open the shells to reveal the seed inside, which should feel firm and plump. Discard any nuts with soft spots, mold, or signs of pest damage. If you're working with store-bought nuts, skip the shelling and use them whole—just ensure they're labeled as fresh and untreated.
For best results, collect nuts in late fall after they've naturally fallen from the tree. These nuts have undergone some natural cold exposure, giving them a head start on breaking dormancy. Store them in a paper bag in the refrigerator until you're ready to stratify, but don't let them freeze solid—consistent 35-40°F is ideal for short-term storage.
Cold-Stratify Nuts for 3-4 Months
Place the hazelnuts in a sealed plastic bag with a damp (not soaking) mix of sphagnum moss or perlite. The moisture should feel like a wrung-out sponge—enough to keep the moss damp but not dripping. Seal the bag and refrigerate it for 120-140 days, checking monthly to ensure the moss hasn't dried out. This mimics winter's natural cold period, which triggers germination hormones in the seed.
I like to label the bag with the date and variety (if known) to track stratification time accurately. Some growers use a mix of sand and peat moss instead of sphagnum, but I've found sphagnum retains moisture better without risking rot. If you forget to check the bag, you'll know it's too dry when the moss pulls away from the nuts—just add a few drops of water and reseal.
Plant Stratified Nuts in a Controlled Environment
After stratification, plant the nuts ½ inch deep in a pot filled with well-draining potting mix (avoid garden soil—it compacts too easily). Use a small container (4-6 inches wide) to conserve moisture and prevent fungal growth. Water gently until the soil feels evenly moist to the touch, then place the pot in a warm (65-75°F), bright location out of direct sunlight. A seedling heat mat set to 70°F can speed up germination by keeping the soil consistently warm.
Germination can take 4-12 weeks, depending on the nut's age and stratification conditions. You'll know it's working when a small root emerges first, followed by a tiny shoot. Be patient—rushing this step often leads to weak sprouts that fail to thrive. If you notice mold or foul odors, the soil is too wet; reduce watering immediately and improve airflow by moving the pot to a less humid spot.
Transplant Seedlings to Individual Pots
Once seedlings reach 3-4 inches tall with 2-3 true leaves, carefully transplant them into 6-inch pots filled with fresh potting mix. Handle the seedlings by their leaves to avoid damaging the delicate stems. Bury the stem up to the first set of leaves—this encourages stronger root growth. Water thoroughly after transplanting to settle the soil and remove any air pockets around the roots.
Place the pots in bright, indirect light for the first week to help them recover from transplant shock. Gradually introduce them to morning sun over the next 2 weeks, then full sun as they mature. You'll see new growth within 7-10 days if the transition is successful. Avoid fertilizing during this phase—young seedlings are sensitive to excess nutrients, which can burn their roots.
Acclimate and Plant Outdoors After Last Frost
Two weeks before your area's last frost date, begin hardening off the seedlings by placing them outside in a sheltered spot for 1-2 hours daily. Choose a location with partial shade to protect them from strong winds and intense sunlight. Gradually increase their outdoor time over 10-14 days, moving them to sunnier spots as they adapt. You'll know they're ready for full sun when they no longer wilt after a full day outside.
Plant the seedlings in a permanent location with well-draining soil and full sun after all danger of frost has passed. Space them 10-15 feet apart to allow for mature growth. Mulch around the base with 2-3 inches of organic mulch to retain moisture and suppress weeds. Water deeply once a week, ensuring the soil stays consistently moist but not waterlogged during the first growing season.
Tips & tricks for perfect hazelnut tree germination
Here’s what I’ve learned after years of trial and error to maximize your hazelnut sprouting success.
Selection is Everything: In Step 1, when choosing hazelnuts, focus on the weight and firmness of the seed inside. A properly mature nut will sink in water, while immature ones float—this simple test saves time. I’ve found that nuts collected from the ground in late fall already have a head start on breaking dormancy, but if you’re using store-bought, ensure they’re labeled "fresh" and untreated. The slight natural cold exposure they’ve already experienced can make all the difference in germination rates.
Stratification Precision: During the 120-140 day cold-stratification in Step 2, consistency is key. Use a refrigerator thermometer to confirm temperatures stay between 35-40°F—most home fridges fluctuate. I’ve seen bags where the moss dried out completely because the fridge door was opened too often. To prevent this, place the bag on a middle shelf where temperature is most stable, and check it monthly. If condensation forms inside the bag, that’s a good sign—it means the moisture balance is perfect.
Germination Environment: When planting stratified nuts in Step 3, the soil temperature matters just as much as the light. Use a seedling heat mat set to 70°F if your home stays cooler than 65°F—this small investment can cut germination time by weeks. I’ve noticed that pots placed on a heat mat often sprout within 4-6 weeks, while those in cooler environments can take up to 12 weeks. The key is keeping the soil consistently warm without overheating, which can stress the developing roots.
Transplanting Technique: In Step 4, when transplanting seedlings to 6-inch pots, handle them by their leaves rather than the stems. I learned this the hard way when I accidentally snapped stems while trying to reposition seedlings. Burying the stem up to the first set of leaves isn’t just about aesthetics—it encourages the plant to develop a stronger, more extensive root system. After transplanting, water thoroughly but avoid overwatering, as soggy soil can lead to root rot during this critical growth phase.
Pro Tips for Grow A Hazelnut Tree From A Nut
- Here’s what I’ve learned after years of trial and error to maximize your hazelnut sprouting success.
- Selection is Everything: In Step 1, when choosing hazelnuts, focus on the weight and firmness of the seed inside. A p...
- Stratification Precision: During the 120-140 day cold-stratification in Step 2, consistency is key. Use a refrigerato...
Frequently asked questions
Got questions about growing hazelnut trees from nuts? You’re not alone! Here are some of the most common queries—and their straightforward answers—to help you succeed.
How long does cold stratification take for hazelnut nuts?
Cold stratification typically requires 8–12 weeks in the fridge (or outdoors in a frost-protected spot). Place the nuts in a damp medium like peat moss or sand, then refrigerate at 34–40°F (1–4°C). Patience is key—this mimics winter conditions and breaks dormancy for reliable sprouting!
When should I plant the hazelnut after cold stratification?
Plant your stratified nuts as soon as they sprout, usually 4–6 weeks after starting stratification. If sprouts appear while still in the fridge, plant immediately. For outdoor planting, aim for early spring (after the last frost) to give seedlings a head start before summer heat.
Can I grow a hazelnut tree from a store-bought nut?
Yes, but with a caveat: Store-bought nuts (like those in candy or snacks) are often roasted or treated, which can kill viability. Stick to raw, fresh hazelnuts from trees (or a trusted supplier). If unsure, test a few nuts—some may still sprout even if not ideal!
Why isn’t my hazelnut sprouting after cold stratification?
Several factors could be at play:
- Old or damaged nuts: Use only plump, intact nuts—discard shriveled or moldy ones.
- Insufficient moisture: Keep the medium damp (not soggy) during stratification.
- Improper timing: If nuts were harvested too late (after fall), they may need longer stratification (up to 16 weeks).
- Fungal issues: Sterilize your growing medium or pots to prevent rot.
If nothing sprouts, try a new batch or check for pests like weevils.
How long does it take for a hazelnut tree to produce nuts?
Hazelnut trees are slow growers—expect 5–10 years before your tree bears its first nuts! Patience pays off, though. Young trees focus on root and canopy growth, so provide consistent care (water, sunlight, and soil health) to speed up maturity. Dwarf varieties may fruit slightly sooner.
Wrapping up and next steps
Growing a hazelnut tree from a nut is a rewarding journey that combines patience, care, and a little bit of science! 🌱 With the right preparation—like cold-stratification—you’ll soon see those first tender sprouts breaking through the soil, a sign of your future harvest.
Once your sapling is thriving, consider transplanting it to a permanent spot in your garden or sharing the joy of propagation with fellow gardening enthusiasts.
Now that you’re equipped with the knowledge, why not plant your first nut today? The best time to start is always now—your future hazelnut grove awaits! 🌿